Friday 22 November 2013

My first crochet beanie for winter (with pattern)

I finally got motivated to make my first ever snuggly beanie hat :) I did it over 3 days, so I think it took me about 6 hours overall (including finishing it off with a small flower). I am planning to line it with some fleece when I can get hold of it!


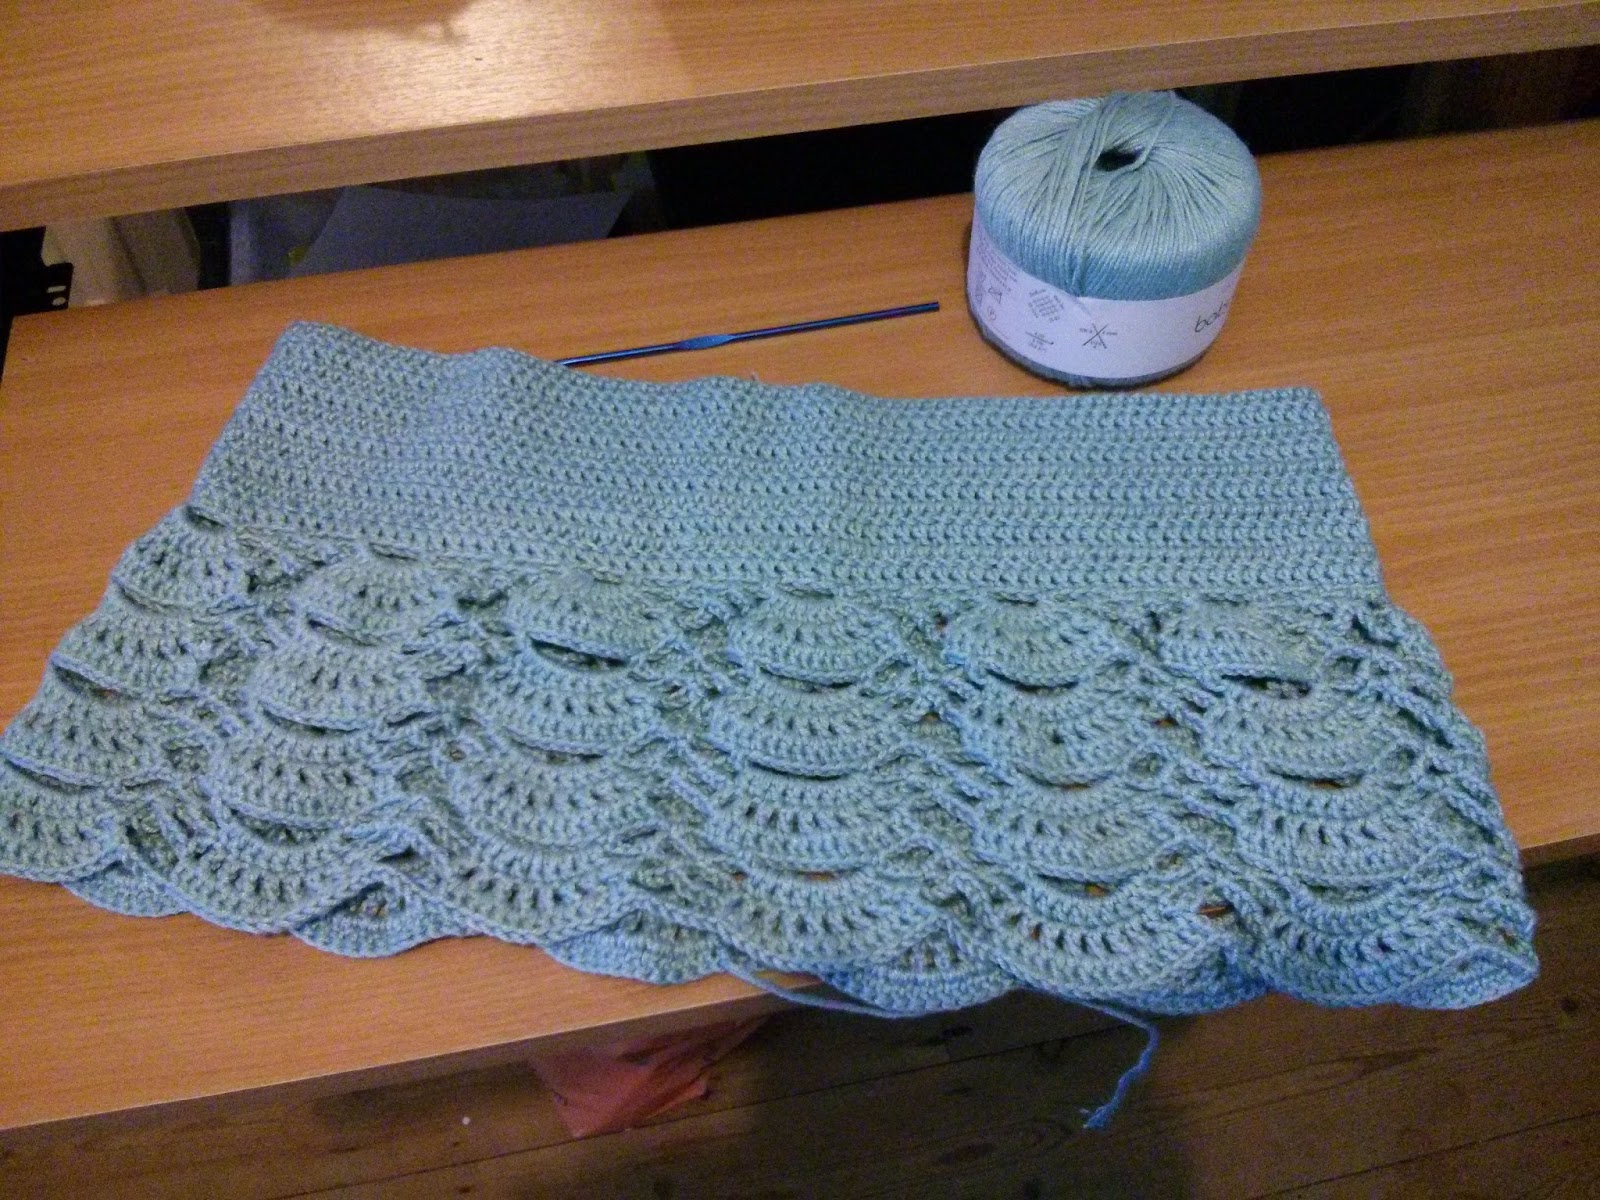
  I made it from SIRDAR Folksong Chunky, and the hat (with the flower) took one and a half 50g balls using a 4.5mm hook. I looked at a few different patterns and sort of made it up using them as inspiration, so here's the pattern I finally used. I really hope it's clear as its my first attempt at writing a pattern! The hat pattern is first and then the pattern for the flower is after.


Hat pattern:

Start with a magic circle (quick tutorial here)

Round 1 - Chain 3 (counts as 1 dc) then crochet 7 dc into the circle. SS to initial chain 3 (8 dc)

Round 2 - Chain  3. 1 dc into same chain space, 1 dc into next chain space, *2 dc into next chain space (counts as a dc increase) then 1dc in next chain space* Repeat from * to end of round. SS to chain 3.

Round 3 - Chain 3, 1dc in same space. 1 dc in next 2 spaces *2 dc in next chain space, 1 dc in next 2 spaces* Repeat from * to end of round SS to chain 3.

Round 4 - Chain 3, 1dc in same space. 1 dc in next 3 spaces *2 dc in next chain space, 1 dc in next 3 spaces* Repeat from * to end of round SS to chain 3.

Round 5 - Chain 3, 1dc in same space. 1 dc in next 4 spaces *2 dc in next chain space, 1 dc in next 4 spaces* Repeat from * to end of round SS to chain 3.

Round 6 - Chain 3, 1dc in same space. 1 dc in next 5 spaces *2 dc in next chain space, 1 dc in next 5 spaces* Repeat from * to end of round SS to chain 3.

Round 7 - Chain 3, 1dc in same space. 1 dc in next 6 spaces *2 dc in next chain space, 1 dc in next 6 spaces* Repeat from * to end of round SS to chain 3.

Round 8 - Chain 3, 1dc in same space. 1 dc in next 7 spaces *2 dc in next chain space, 1 dc in next 7 spaces* Repeat from * to end of round SS to chain 3.

Round 9 - 24 - Chain 3, 1dc in every chain space. SS to chain 3.


Obviously you can go at long as you need to with the hat or add more increase rounds after round 8, but this is just what I used. Then just weave in the ends and sew on the flower (pattern below). I added a button to draw a bit more attention to the flower, but you could do row of sc around the outside of the flower in a contrasting colour to make it stand out or do it in another colour entirely.


Flower pattern

Start with a magic circle

Round 1 - Chain 3 (counts as 1 dc). Crochet 19 dc into the circle (20 dc)

Round 2 - Chain 1. 1 sc into same stitch. *Miss the next chain space, 7 dc into the chain space after. Miss the next chain space, 1 sc into the chain space after.* Repeat from * until end of the round (on the last one just SS to the first sc you made).


I hope this pattern makes sense, and thank you for all the lovely inspiration out there!

Thursday 14 November 2013

Puzzle balls, scarves and snowflakes...must be nearly Christmas!

I have just finished my first placement of my second year of my Primary teaching course, which means I've had to go a whole month without my crochet!

My placement was interesting, but I won't miss the hour commute each way. Also, now I can get back into my crochet and start on my huge list of Christmas presents. I've got some ideas but it's going to take all the TV shows on Netflix until I get halfway into the projects, not to mention juggling 4

I'm currently working on making an Amish Puzzle ball using this pattern:


At the moment I am having a lot of trouble making the "lid" parts. I'm having to change the instructions from USA to UK terms (using UK double crochets). No idea if anyone else is currently making or has made one of these but mine just doesn't look right. I'm trying to sew material on the outside instead but it's really tricky. I've  decided I'm going to take a break and make some snowflakes for a while. Browsing Reddit has thrown up some great links, I can't wait to get going.


I have made a few prototype snowflakes from this PDF file just using normal white crochet thread and a 2mm hook. I starched them just using PVA glue and water (not the stiffest finish but allowed me to sprinkle some glitter on the snowflakes to make them pretty!). Between university and my new job I really hope I'll get time to crochet a few more things.

Thursday 1 August 2013

Zelda Tunisian pillow present all finished

Months ago I posted a picture of my Zelda tunisian crochet with the idea of putting a  back onto it, and today I not only finished the "You fill my hearts" piece, but fastened them together and stuffed it all ready to give to my boyfriend for his birthday.

One of the problems I had was that the green side with the eagle crest was slightly smaller than the new side that I had just made, so I crocheted a row of double crochet around the outside, and then I could join them together.


Wednesday 31 July 2013

Summer! So much crochet time :)

A month ago I finally finished my first year at university and have thrown myself back into my crochet. I spent June and some of July in a reception class as a Student Teacher and completely left my crochet, spending every evening writing up observation notes, planning lessons and even making play doh. This meant that when I finally finished the 5 week placement I went a bit overboard on the crochet ideas; I found enough projects to last me the rest of my time at university, never mind just filling the summer! In 2 weeks time I will be in Cyprus with my boyfriend, and my only problem is how to fit all my yarn stash into my suitcase. If they do random spot check of suitcases they are going to have a giggle at the amount of wool in my bag, but I can't leave any colours behind or that will be just the colour I really need!

Despite promising faithfully to save money for my 3 weeks abroad I cannot resist yarn, and when there was a 10 for £10 offer on Robin Double Knit yarn...well... I'm going to spend the next 2 weeks rolling them into balls to try and fit them all in my suitcase.


 I am currently in the process of myself a beach skirt from a pattern on this blog by Katrinshine, and only have 2 rows left to do.


When I saw the pattern I thought it was so pretty and I was determined to try and make it, fully expecting it to be too difficult or if I did manage it that it wouldn't look anything like the lovely skirt in the picture. Much to my surprise I not only managed to understand the pattern diagrams (after painstakingly translating the instructions from Portuguese) I managed to actually make the skirt! However, it was not without a couple of problems and mistakes:

  1) My first problem was with buying the yarn. After finding the type of yarn I wanted, I spent about 10 minutes stood in the shop comparing the 8 or so different colours and desperately trying to pick one. I finally decided on a silver/grey wool, and bought one ball to try it out. After a few hours I finished the ball (completing the majority of the waist section of the skirt) and so I went back to buy more balls. Turns out I'd picked the one colour that the shop weren't buying in any more! Anyway, my skirt is now in this light blue picked out by my boyfriend :)

  2) I somehow managed to do a whole round of shells with 8 double crochets each instead of 9, and by the time I spotted it I had to unravel about 6 hours of work to correct it! Nightmare, but I didn't want to leave it and then be disappointed with the final result.

But I am really happy with how it has turned out, and soon it will be finished ready to wear over my bikini in the glorious weather :)

Friday 8 March 2013

Spontaneous iPad case project

About two weeks ago I went home from Uni for the weekend and found all my coloured wool, and was desperate to make something. My boyfriend was recently given an iPad mini from his Uni Robotics course and so I started making the world's most simple case. I basically started by chaining 28 and then 56 rows of double crochet, and then just changed colour every two rows. The whole case is made out of one scarf like piece folded up and then stitched up the sides in black using single crochets.

The stripes on the back are the same as the front to create coloured bands going round the case.

I was worried that this would look really bad, but as crazy as it looks I have to say I am pretty chuffed with the end result :)

I feel so much more confident about my crochet, and love being able to look at projects and think yeah, I can do that. Getting to the end and finishing a crochet project is just the best feeling in the world!

Friday 15 February 2013

Valentine's Present finished picture!

Finished crochet, with colours as picked by my Zelda obsessed boyfriend!
I am so happy, I finally finished my Zelda crochet! For me this was a bigger project than I though it was going to be, and the main reason for this was that every time I started a new section of the wing or the tri-force I had to cut another length of black wool and join it into the crochet. I ended up spending over 2 hours weaving in all of the ends fully! But it was really worth doing and I'm so pleased with it, I cannot tell the person who posted this pattern online how grateful I am to them as I would not have been able to work this out on my own, and it's really boosted my love of (and addiction to) crochet.

I'm planning to do another piece to make this into a pillow and I saw a really nice Zelda cross stitch someone had done, and so I've now got my plan into Excel. I will hopefully start it in a couple of days, and I hope it comes out ok.

Friday 8 February 2013

Tunisian Zelda Cushion Project

I have recently bought myself some long crochet hooks to do my Tunisian crochet from Amazon.co.uk, and I am so excited! They are made from bamboo and 14" long, and I can now finally start a big project. I have found a lovely pattern for a Zelda crest cushion that I have decided to make for my boyfriend for Valentine's day:

http://www.instructables.com/id/Legend-of-Zelda-Triforce-Pillow/

It's so cool! I showed it to my boyfriend and let him pick out the colours he wanted, so mine is black on a green background. I took a quick picture of my first row, but I've been doing lots of work on it since then between my University lessons and I can't wait to put a picture up when I finally finish it!

First row of 61 stitches with new crochet needles
This is the plan I've been working from, I hope it'll look this good when it's done!

Thursday 17 January 2013

My discovery of Tunisian Crochet!

This is just a quick post as I wanted to write a little bit about how I started this form of crochet. About 3 weeks ago I stumbled across a video of Tunisian crochet, I only clicked on it because I had not heard the word Tunisian before, and not only did I think it looked great but I couldn't believe how easy it was. A quick Google image search into Tunisian crochet pillows and patterns and I was determined to try it. I started off by making two very small squares and I couldn't believe how simple it was!

This is a great YouTube video to show how to follow a pattern:

http://www.youtube.com/watch?feature=player_embedded&v=dyO-yQd7Ozg

I really could not wait to start my own Tunisian crochet picture, and because my boyfriend loves Mario I did a quick search for Mario patterns. I found a few, and put my favorite ones in Excel to follow. These are the red and green "1up" mushrooms from Mario that I made:


I didn't want lots of wool crossing over on the back of the work, so I made lots of small balls of wool of each colour. This meant that I was changing wool every couple of stitches at some points, and had about 20 ends to weave in afterwards! From start to finish (including weaving in the ends) each picture probably took about 3 hours. Having seen other people's blogs and how fast they complete their crochet I hope I will eventually pick up some speed, but I'm very content at the moment to go at my own speed and I'm very happy with my little pictures.

I'm not very good at biting off only as much as I can chew, and my new current project is no exception! I'm going to write about it in my next post as it's going to be quite a long project :)

Isobel Hope

Tuesday 15 January 2013

Memories of my first project

As I mentioned in my first post this blog is just so I can share my learning and experiences, and something I think everyone will always remember is their very first completed project, so I thought I'd share mine.

Obviously the very first thing I made were about 50 crochet squares whilst I was getting the hang of holding the hook, controlling the tension, picking up stitches etc. (it's amazing to think back to how hard I found it and how second nature it is now!). Once I'd really got the hang of that I headed off to YouTube to look for a project to make, and I saw lots of lovely purses and bags which inspired me to create a little purse of my own. Because I could only really do squares from double crochet I decided to make a rectangle and then fold it up to make the purse. I know this probably isn't a great description, so here is the picture of the finished purse:

Finished purse decorated with a flower I made later

I had done sewing before so once I had made the rectangle I folded it up into the purse shape and sewed up the sides. I didn't add any closing mechanism, the button and the flower are just for decoration. After I finished the purse I realised that it looked a bit plain, so I went back on YouTube and found this video: https://www.youtube.com/watch?v=h6sW_nNpp14 by DreamBIGLover. This is definitely the video that inspired me to love crochet, I am eternally grateful to this video!

The same person who made that video also made other videos about making butterflies etc., so I thought I'd also put in here some pictures of my practice decorations:


Anyway, I've probably rambled on enough, I'd love to hear about other people's first projects and how they went! Please comment if you have a few minutes :)

Isobel Hope


Sunday 13 January 2013

About me and my crochet blog

I have decided to start this blog to share my experiences, failures, successes, ideas etc. of my crocheting. I have not been crochet that long; I tried it a few times about 2 years ago, then tried making the odd crochet square last year when someone bought me a crochet magazine with a started DVD in it, but its only in the last couple of months that I've become truly addicted to it! I've been spending any spare time watching YouTube videos and finding patterns on line, and as it's reading other people's blogs that inspired me to try crocheting I thought I would follow their example. I am still a relative beginner; I can do most stitches but I have only tried a few different projects and I'm still learning loads every time.

I first tried crochet a couple of years ago. My mum was into knitting, but she knew a little bit about crochet and showed me how to do a basic single crochet stitch. I went on YouTube and found out how to start with slip knot, chain and then how to turn at the end of each row and I started making lots of small squared out of any wool I could find. However, I didn't really know how to do anything else, and because I thought that all crochet was good for was for making patchwork blankets I quickly got bored and moved on.

It was about a year later when someone bought me a crochet magazine, and I remembered that I quite enjoyed it. I learned a few more stitches such as the double and triple, but again because I didn't really know what to do with it I left it. In the summer holidays last year (2012) I wanted to take up a hobby, so I started looking online at beginner crochet projects, and I loved them! There were all sorts of ideas to colourful pillows and blankets to gloves, hats, adorable arigurumi toys, phone cases, bags, the list goes on. I immediately threw myself into crocheting and I've been pretty obsessed with it ever since! I would like to make some "how-to" videos online, but I'm pretty nervous about that and so begins this blog, and I hope that if anyone is reading this then you get some ideas for your crochet, or even better give me some tips and ideas on how to improve mine as I am still very much learning as I go!

Isobel Hope